


The Indian government’s rooftop solar scheme is called the “PM Surya Ghar: Muft Bijli Yojana.” This program has been specifically designed to attract individuals who are willing to establish a solar panel system on their roof for contributing to the use of renewable energy sources and ensuring households have been benefited. The country is offering 3 kW of rooftop solar system installation grants for families to prevent power outages through under this initiative. For systems with a capacity of up to 2 kW, the subsidy pays 60% of the total cost; for systems with a capacity of between 2 and 3 kW or more, it pays 40% of the additional cost. For a 1kW system, the subsidy amount is approximately Rs 30,000; for a 3kW or larger capacity system, it is Rs 78,000.
Households must also use solar panels that are “Made in India” and have the system installed by a vendor listed on the portal who has been approved by the government. In particular in rural areas, the program enables households to make money by installing charging stations for electric cars and two-wheelers. Applying for this plan involves going to the official website given below where users can complete a series of steps that include registration, approval of the feasibility, installation, net metering, and receipt of subsidies.
Steps to Get Government Subsidy on Rooftop Solar Panel
You can do the following actions to be eligible for a Government of India rooftop solar panel subsidy.
1. Sign Up Online
Go to the PM Surya Ghar Muft Bijli Yojana official website and register for the scheme by providing your email address, mobile number, and consumer number, and choosing your state and electricity distribution provider.
2. Application Process
Enter your customer number and mobile phone to log in to the portal. Apply for the rooftop solar program via the online form by doing the following.
- Go to website PMSuryaGhar site (https://pmsuryaghar[dot]gov[dot]in/)
- Click on Apply for Rootop Solar
- If you’re not registered earlier then register here with selecting your State name then select name of electricity distribution company, give registered mobile Number with the electricity distribution company, your email and consumer number
- Once registered, then login using your mobile and consumer number
- Select the Rooftop Solar panel options as per your need
3. Feasibility Approval
Await the DISCOM (Electricity Distribution Company) technical feasibility approval for the next fifteen days.
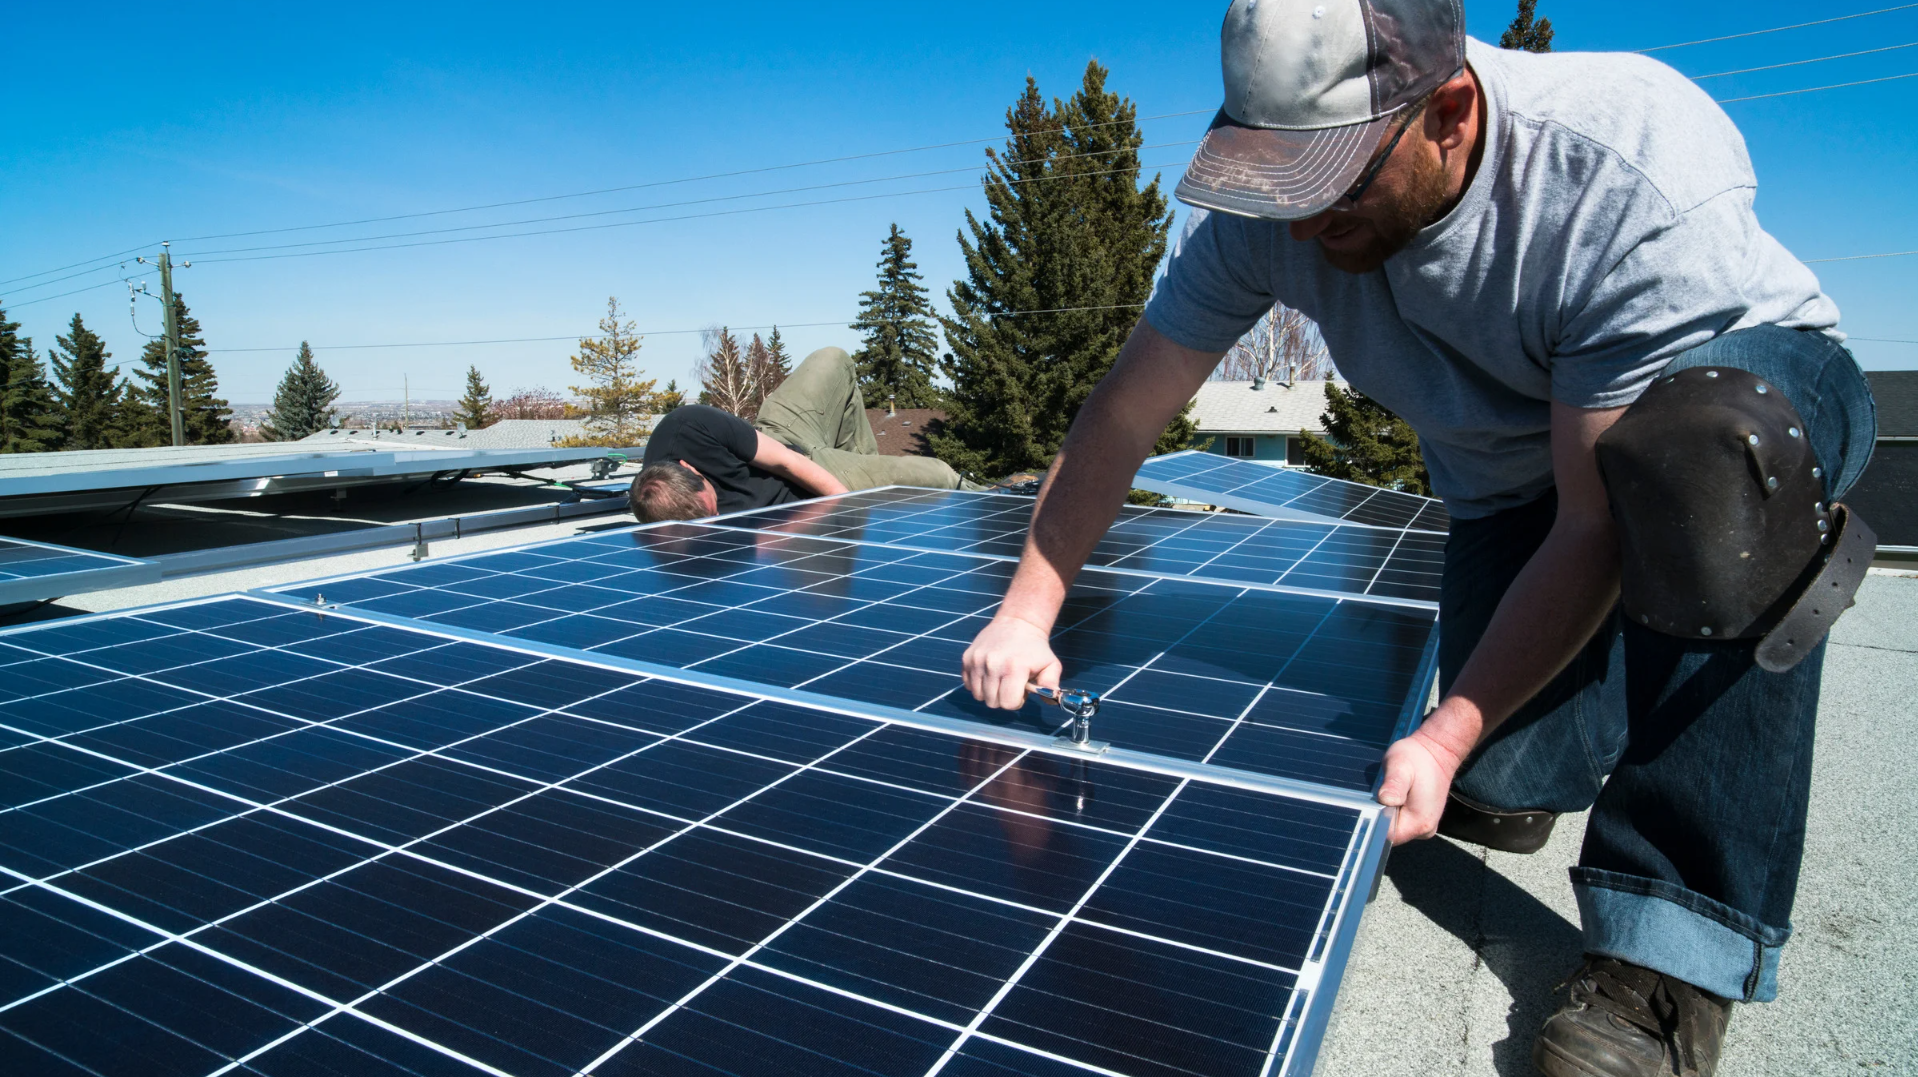
4. Installation
After being approved, you can refer the registered suppliers list from the portal, contact them to install the solar system.
5. Net Metering
Apply for net metering after installation, and the DISCOM will handle your request from there.
6. Inspection and Certification
After the plant has been examined and all regulations have been fulfilled, a commissioning certificate will be given.
7. Subsidy Disbursement
The subsidy amount will be credited to your account within 30 days of the installation being completed if you submit your bank details and upload a cancelled check through the portal.
Through the Government of India plan, you can apply for and obtain a rooftop solar panel subsidy by following the above steps, which will increase the affordability and accessibility of solar energy for residential homes and above all you can make money and save money through the green energy.
Home Solar Panel Installation Tips
In order to produce more electricity, to save money and to increase the overall efficiency of the solar panels during the installation process, there are some basic guidelines. As a thumb rule the installation below lays down the steps to be followed for placing solar panels on an inclined roof of a house.
1. Examine Roof Conditions
Being the age of your roof, its condition, its placement to the sun, amount of shade it got and its slope as the determining factors to a decision whether to add solar panels or not, you can then install the solar panels. Be sure the roof becomes stable enough where the panels can lean upon. Check the angle of the panels also because leaning allows the panels to receive the highest amount of sunlight possible.
2. Determine Your Sunlight Exposure
Know what the sun radiations are on your roof in order to calculate the yielding of the solar system of your liking. The panel receives the additional energy which finally helps to save more money on the energy expenses.
3. Think About Roof Type
Different roof types might compel the installers to employ various techniques of the installation of solar roof. Make sure the mounting system is compatible with your type of roof so no damage occurs and you can be sure a secure installation is ensued.
4. Select the Installation Technique
The placement of solar panels in your home will depend on the situation of your home. You may choose either the ground mounted or the roof mounted solar panel among other types. For roof top installations, domestic setting, the preferred option is rooftop solar systems which ensure that the full power of the sun is harnessed.
5. Speak with Experts
Plan a visit to solar experts or contractors to discuss the options of solar panel system compatibility with your roof, suitable location of the solar panel, and ensure that your setup conforms to the utility and municipality standards.
6. Think About Your Financial Options
Consider the economic status, legislative environment and utility policies while you determine the best option whether to buy or lease solar photovoltaic panel. Owning an appliance is economical at the beginning, has low maintenance obligations but it comes with consequences of its ownership. Such as taxes and that are not there if you rent the system
Incorporating solar panels into your roof is a straightforward method for harvesting Solar channel, helping to cut your utility bills and save money in the process of ensuring environmental sustainability.
Image credit- Canva
Discover more from Newskart
Subscribe to get the latest posts sent to your email.
Comments are closed.